DIY

DIY // Spring Crate Decor

DSC_0158

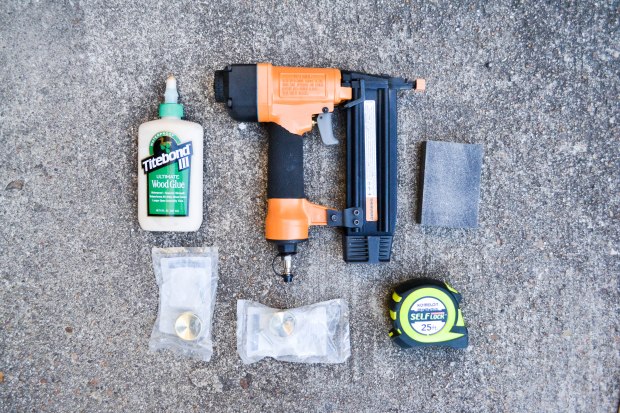
My favorite show as of last week has been Fixer Upper! If you’re ever looking for inspiration on home renovation or interior design, that show is the one to binge watch! So after feeling inspired, this is the result of what scraps of wood and leftover Coco Cola bottles looks like! No fancy tools allowed other than a hand saw to cut the wood into the right size and some heavy duty glue. And let’s jump right into it!

DSC_0008

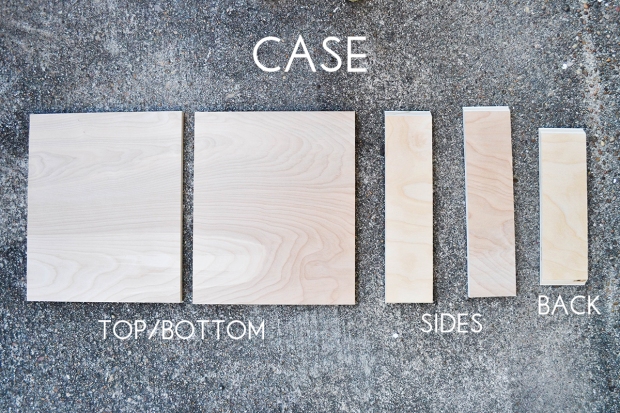
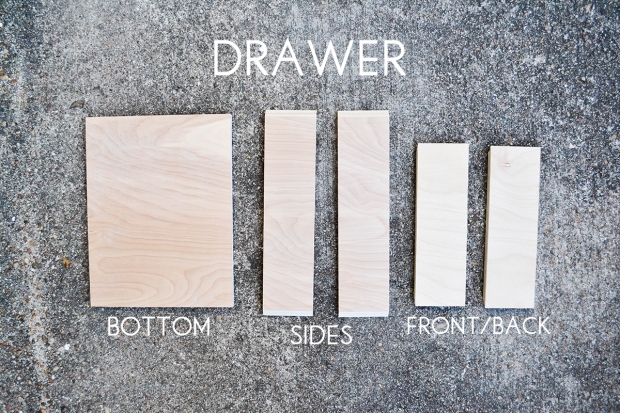
So with scraps that you can find, you will need to find a base board, 2 side boards and side planks! Get creative and measure out how long you want your crate to be!

My measurements:

  • 13 in x 3in. for the (1) base board
  • 13in x 1 in for (6) side boards
  • 5 in x 3 in for the (2) end boards

DSC_0010

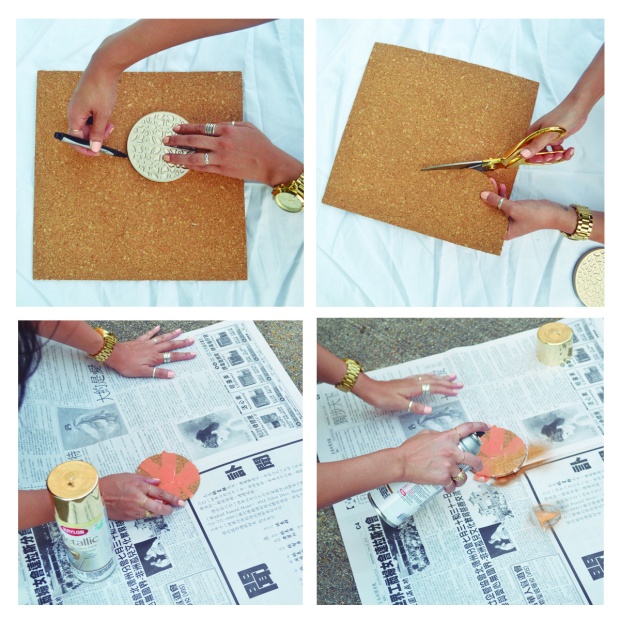
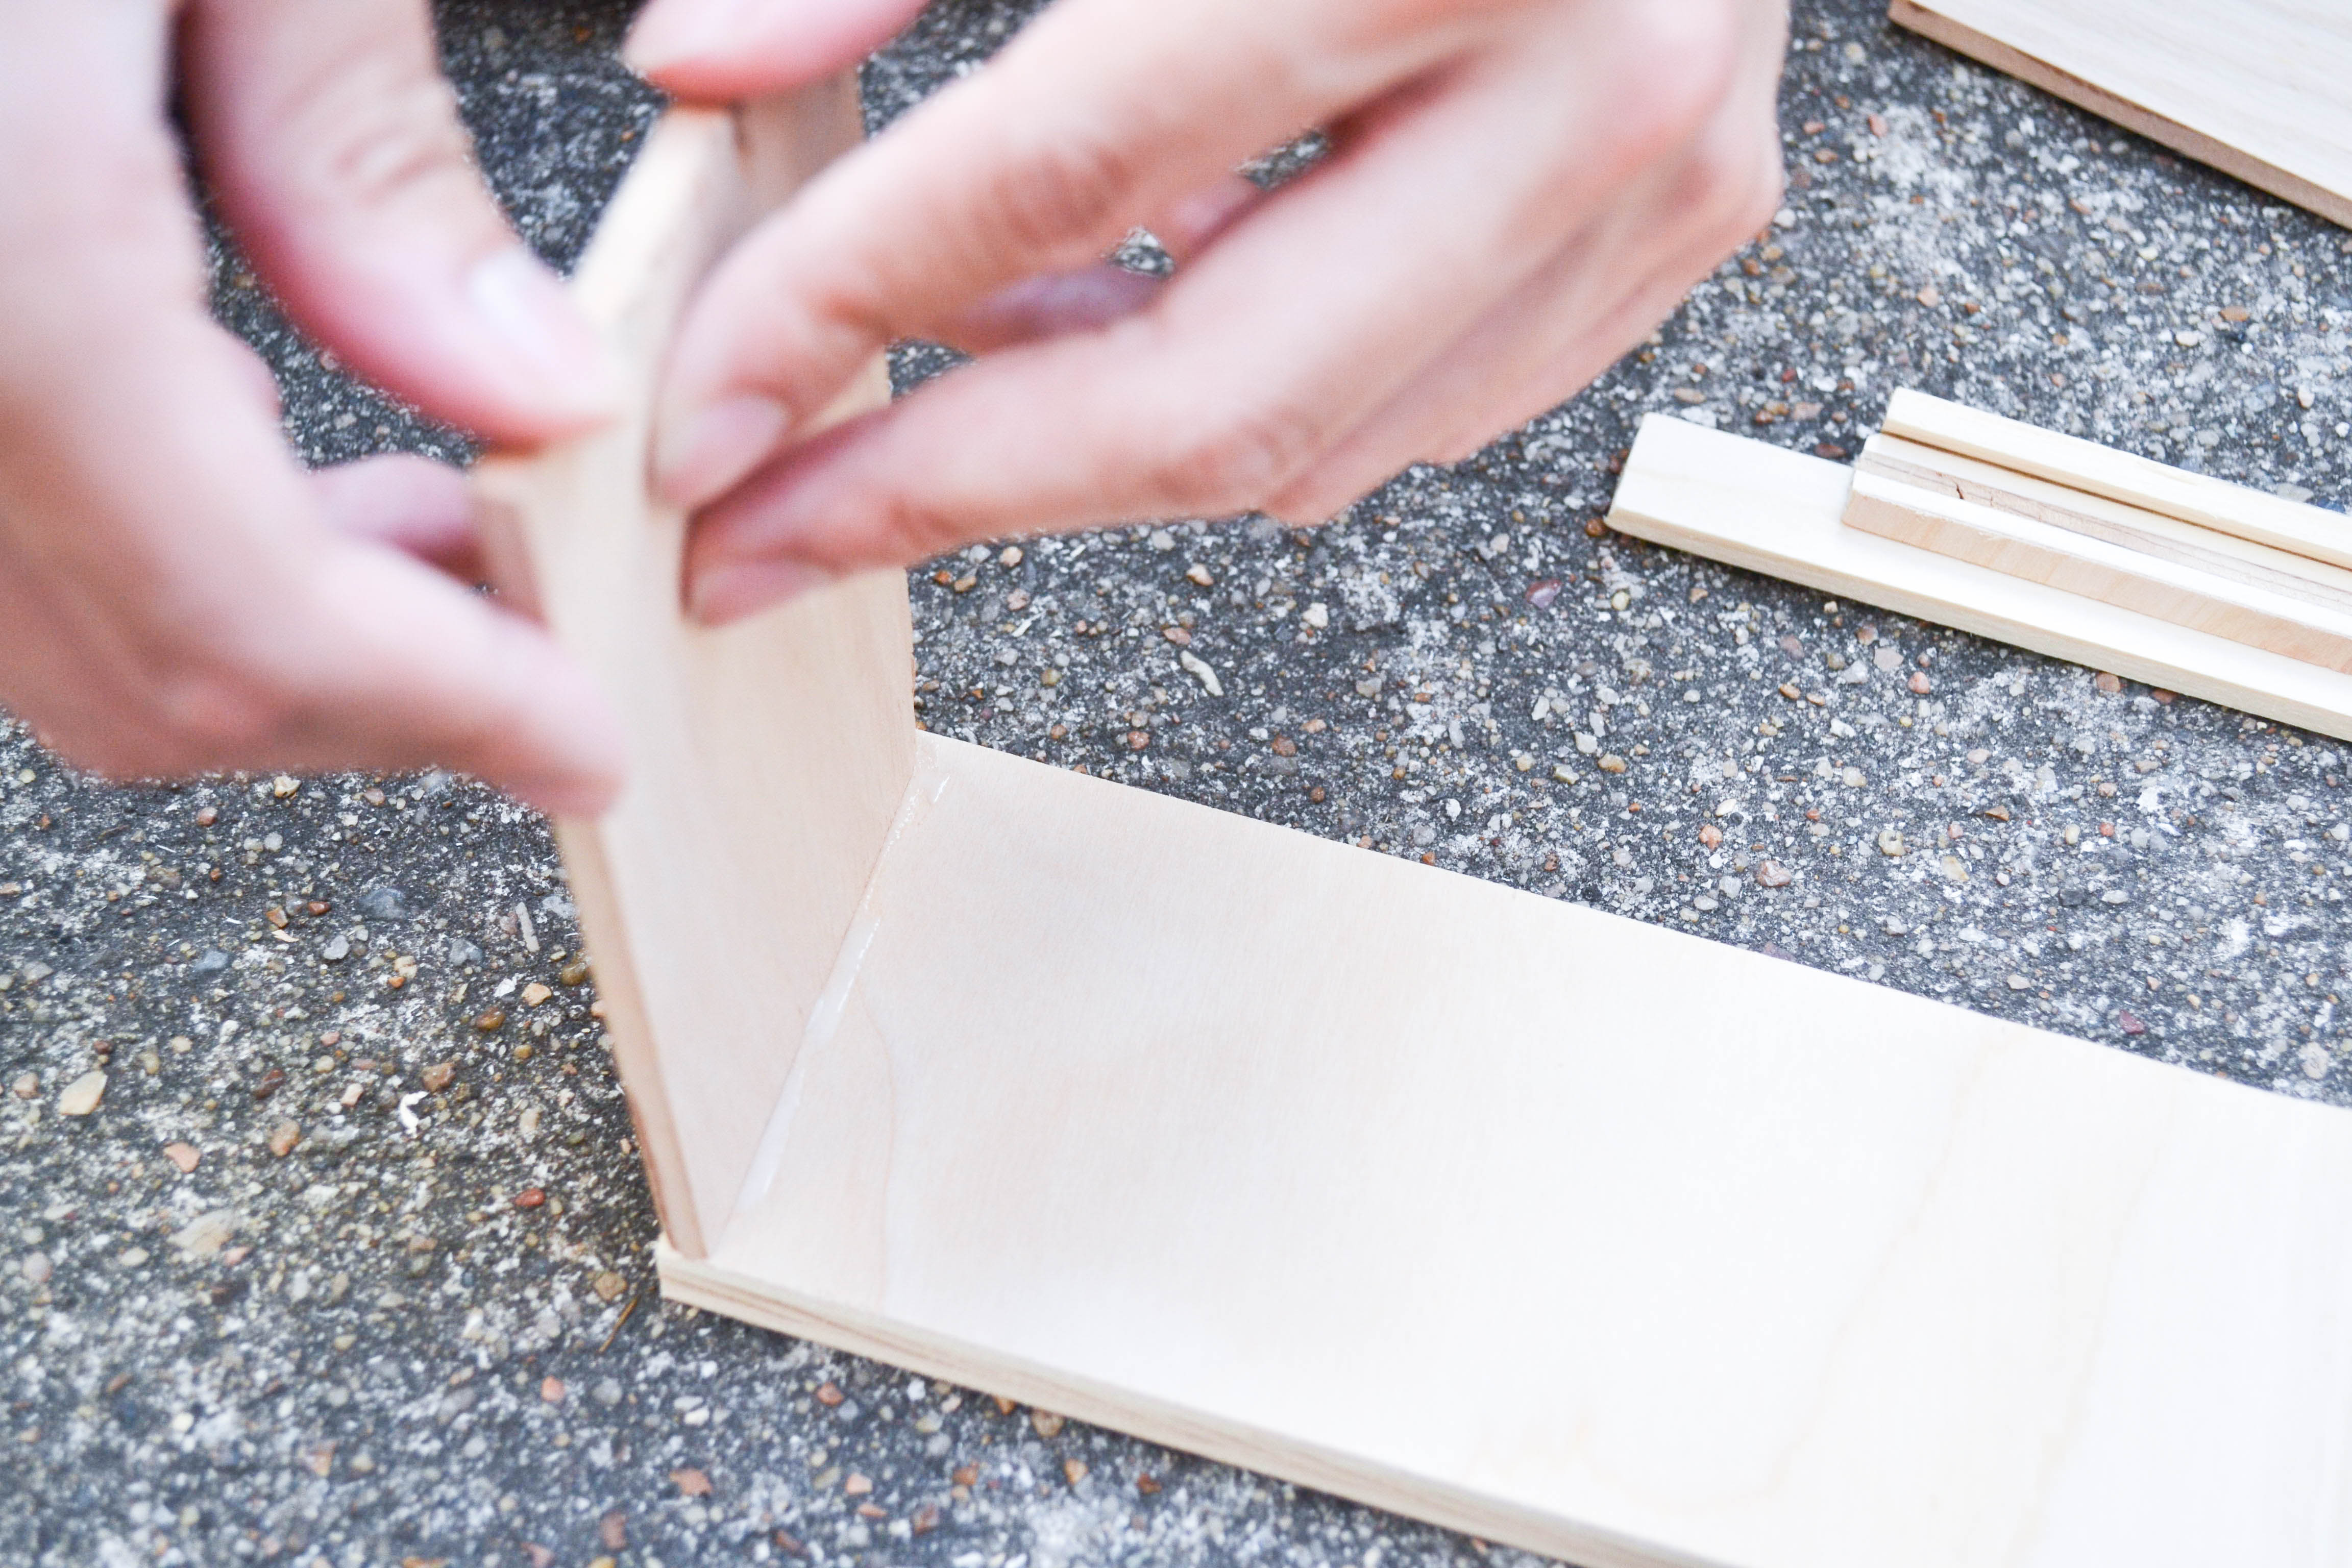
Before I glued and made this a permanent decision, I planned out the placement of the wood pieces.

DSC_0014

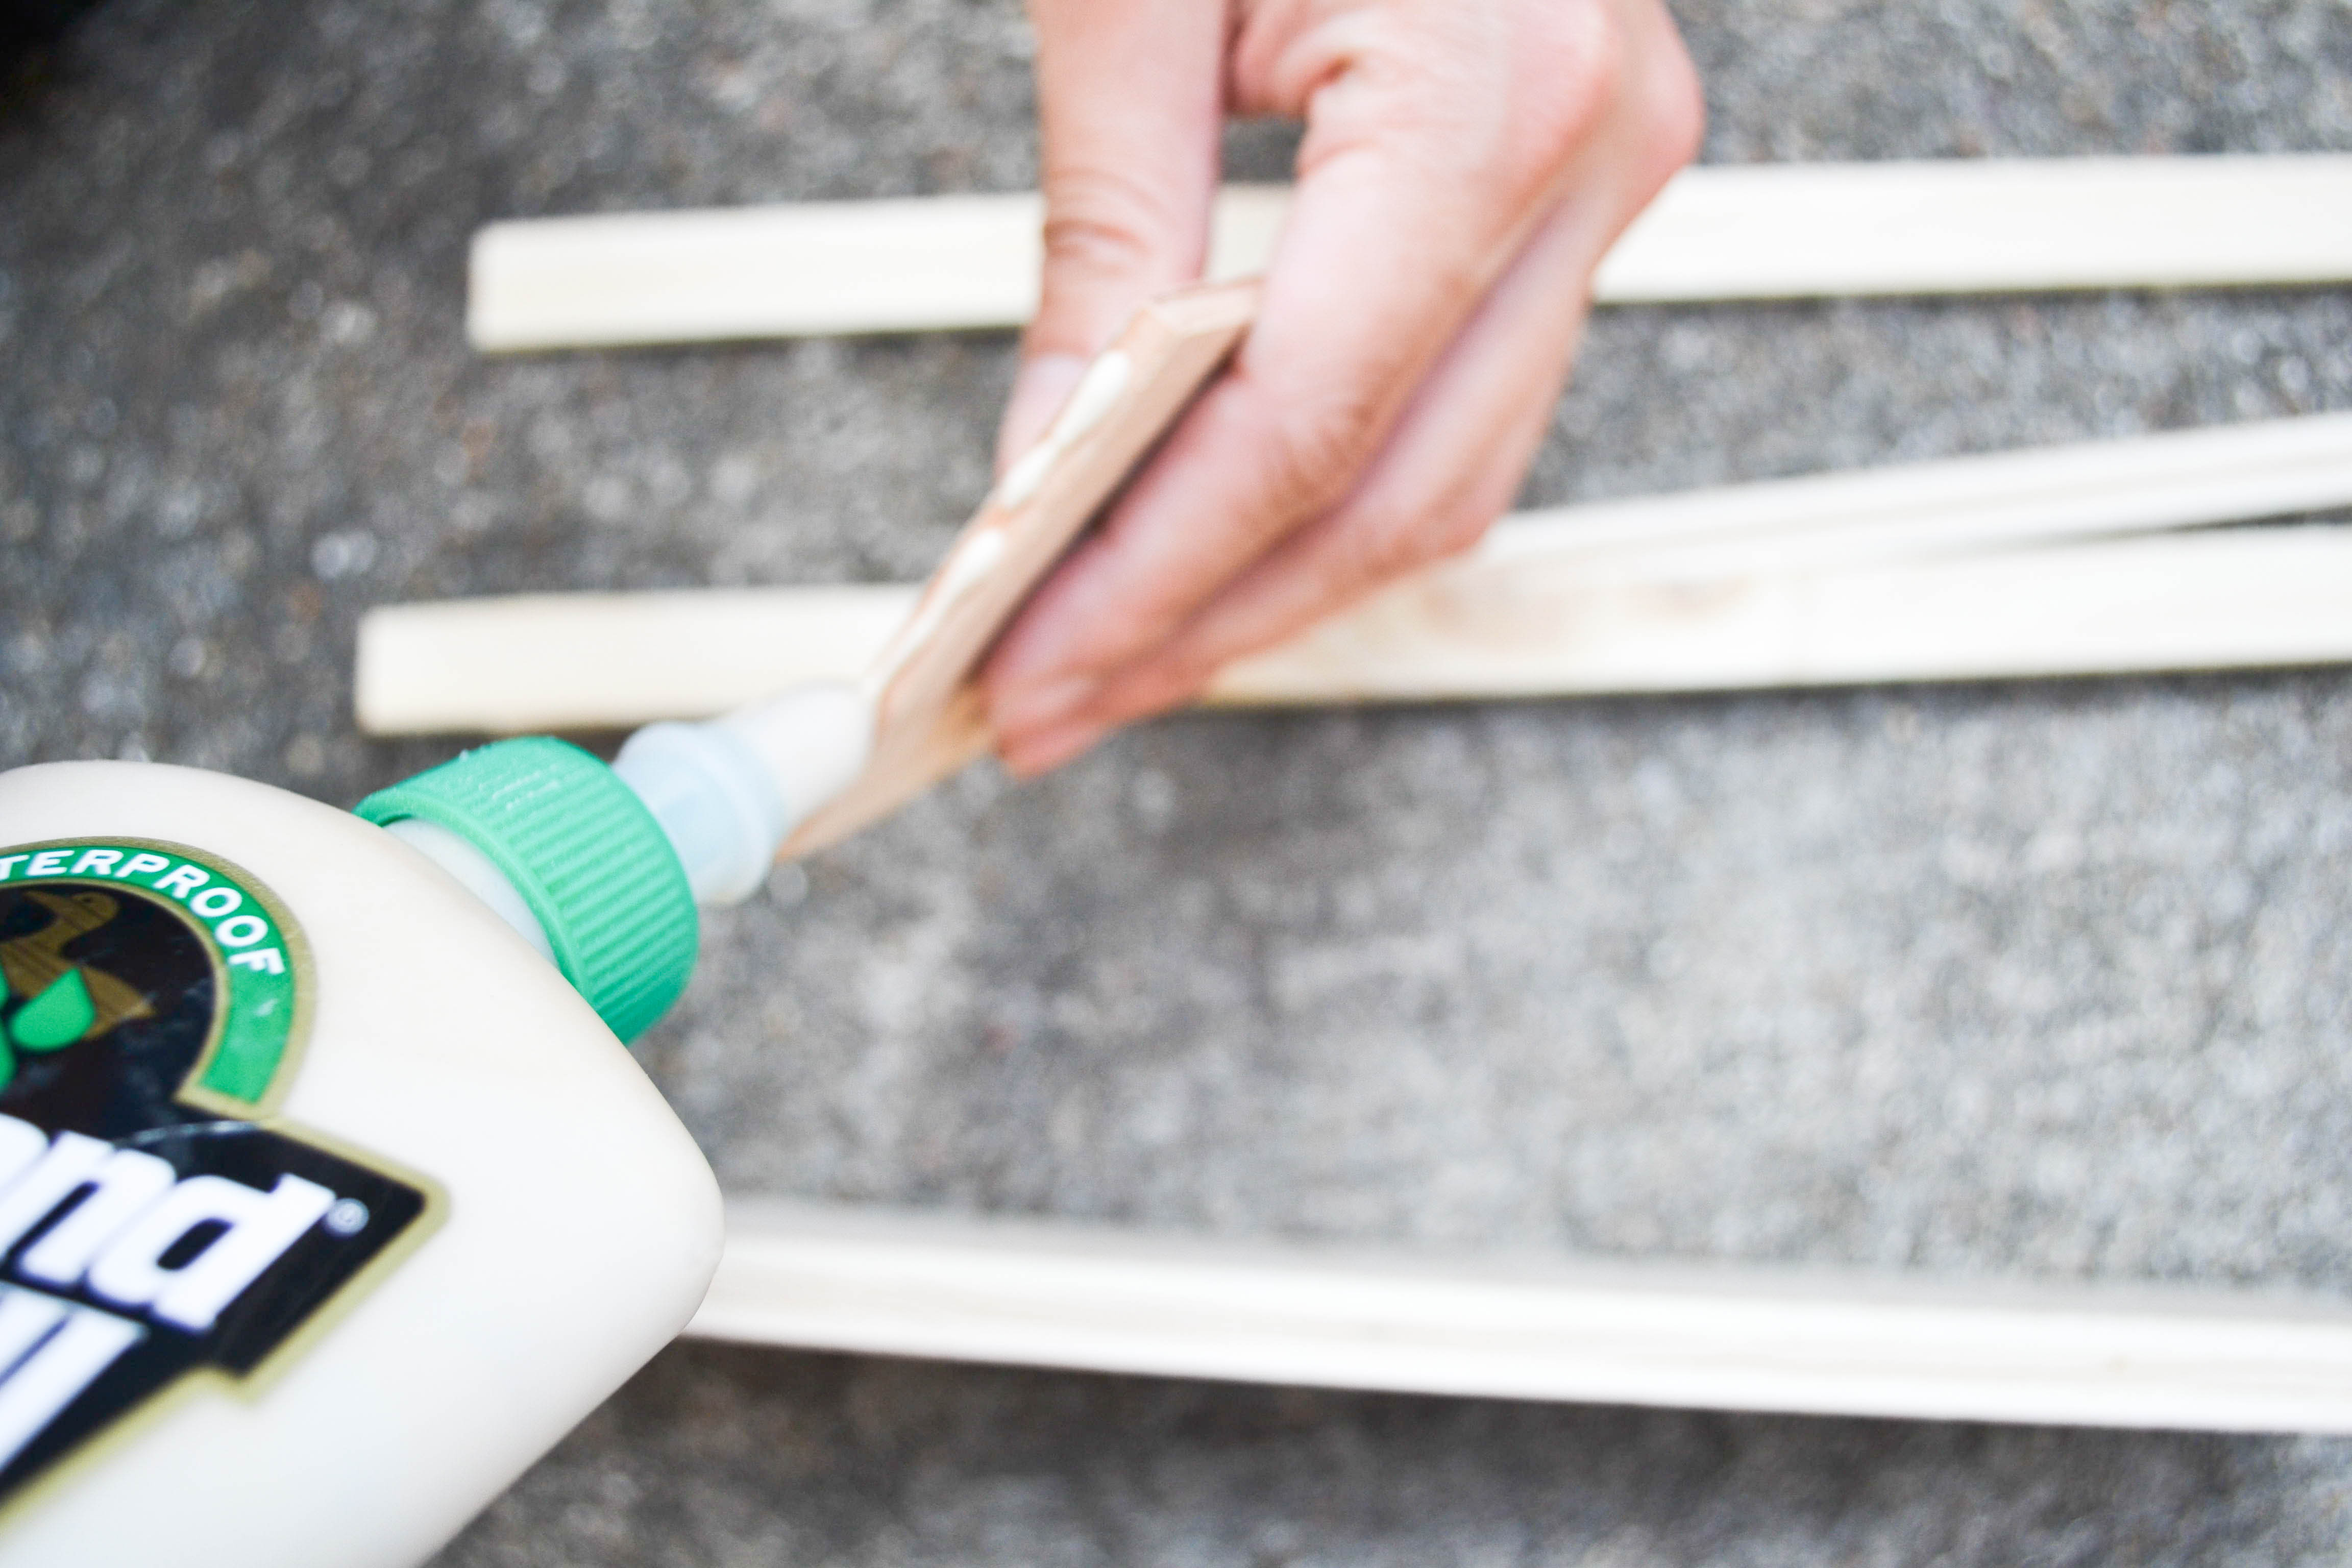
Next is the gluing and leave to dry for the appropriate amount of time unlike me…I had to reglue a couple times because I prematurely touched the pieces and knocked them over!

DSC_0019

DSC_0086

Because I was too impatient, I used a clamp to make sure my pieces were secure and not going to fall over when I got ahead of myself.

DSC_0097

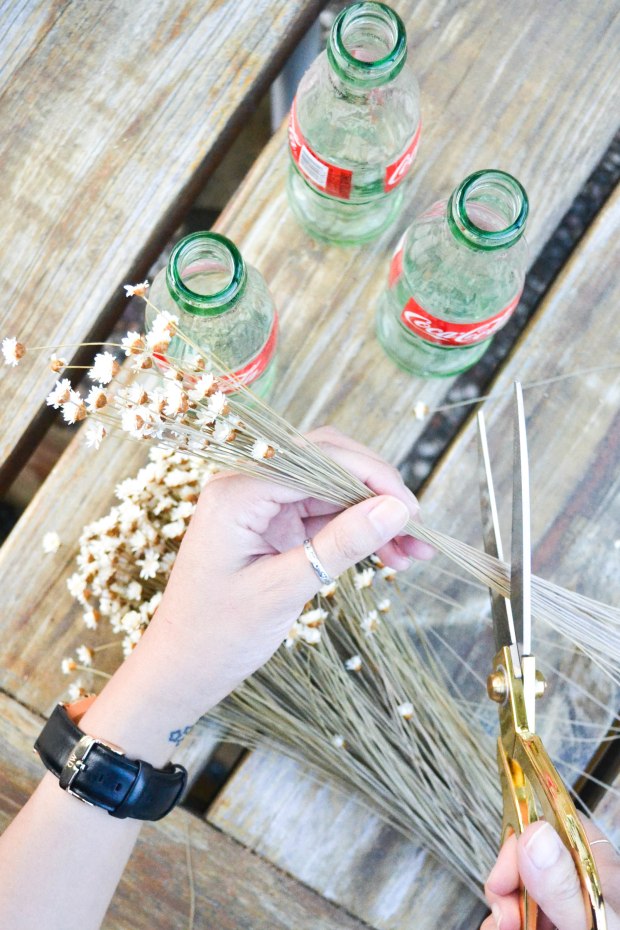
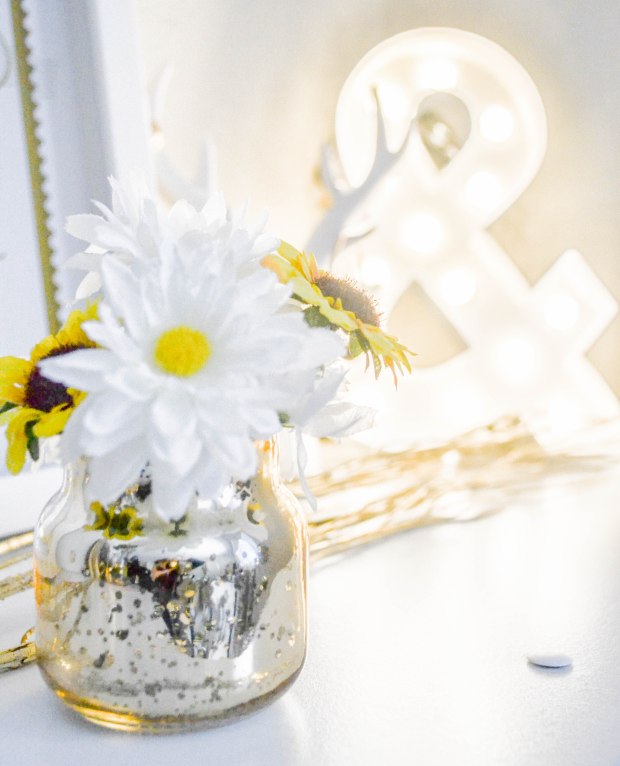
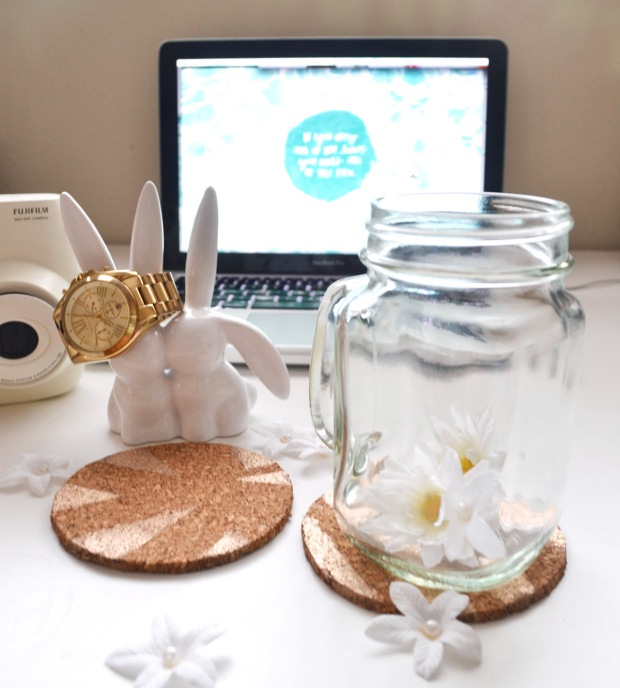
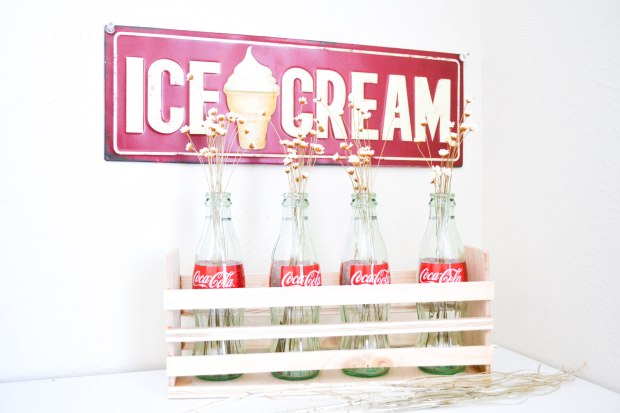
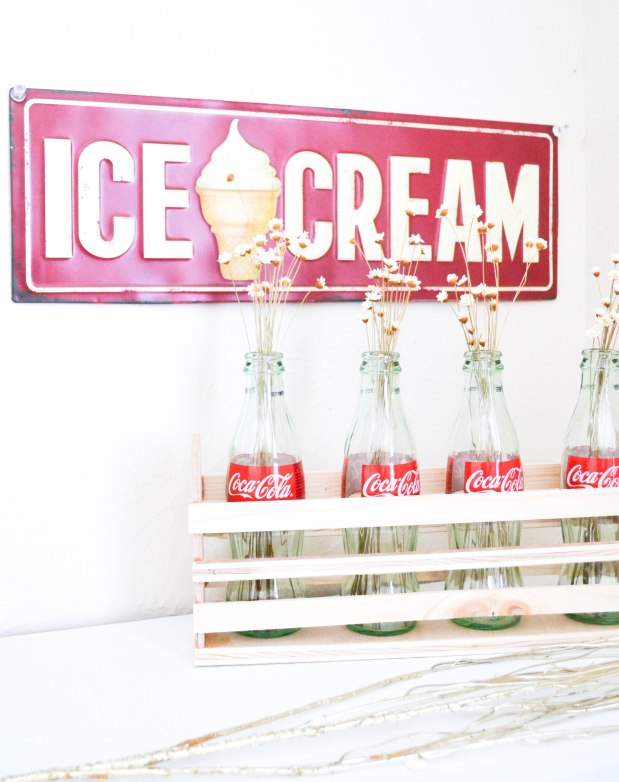
I took the bottles left over from our Super Bowl get together and turned them into cute vases! Took these fake flowers from my local craft store and you’re almost there!

U3s4ny on Make A Gif, Animated Gifs

Add bottles, add flowers and you’re done!

DSC_0157

Thanks for reading!

Chris

DIY // Ikea Inspired Drawers

DSC_0348

Every Ikea trip leaves me with awesome ideas for DIYs. I recently stopped by Ikea in hopes of finding a specific drawer design for my desk space. Unfortunately, I didn’t find drawers that fit my criteria and budget, but I did take away inspiration to implement into a DIY of my own. So after a trip to Lowes, and the help of my crafty dad, I came up with designs and measurements that were perfect for my desk space and not to mention affordable!

case2

Used .5inch plywood for the case:

Top & Bottom: 10 7/8″ x 13″ | Sides: 3 1/8 x 9 3/4 | Back: 3 1/8″ 10 7/8″

drawer2

Also used .5inch plywood for the drawer itself:

Bottom: 8 3/4″ x 11 1/2″ | Sides: 3″ x 12 1/2″ | Front & Back: 3″ x 9 3/4″

*Also if you don’t have tools to cut your own wood, Lowes has a service where you can tell them your measurements and they can cut the materials for you*

DSC_0230

Extra tools you’ll need to finish: Wood glue, nail gun w/1in. nails (optional for extra hold), sanding block, (2) drawer knobs, measuring tape.

UWJtky on Make A Gif, Animated GifsAssemble like a puzzle, apply glue where needed to connect each piece, and leave to dry for a couple of hours. I then painted my drawers to match my desk decor. This is the part to have fun, and be creative!

DSC_0282

And you’re done!

DSC_0354

What did I learned from this project?

1. Took a lot of trial and error!

2. Could’ve look into different types of wood

3. Use a matte paint next time

It was my first time creating a wooden DIY (and my measurements weren’t quite exact….), but I plan on getting better with more and more practice! So stick around and follow me along on my wood project journey!

Til next time,

Chris

Dawg Friends & Stuff

DSC_0590

I like to take some time to give some love to all the ANIMAL INSTAGRAMS I’ve discovered over the past year! (pssttttt….Sam also has her own insta-g @theSamStory)

My second love to dogs are rabbits and @BunnyMama adopts the cutest buns and gives great tips on how to care for rabbits. You can’t help, but fall in love with those chubby cheeks!

I live vicariously through the traveling duo of @Andrewknapp and his doggie Momo.  He makes his followers really think when he plays #findmomo, and I do enjoy this lil hide-n-seek game because it always surprises me how well he hides Momo!

Sam is a golden retriever if you can’t tell, so it comes as no surprise why I immediately fell in love with @AllAboutBrady. She captures her dog so beautifully and every picture makes my heart melt!

And the last one for this round is @emwng and her two doggies! She’s the first doggy insta-g I fell in love with. If you’re looking for a pick-me-up, go and look through her pictures (*Warning* they will give you an extreme adorability high)

If you want to see more Insta-g dogs and donate to a good cause, you can purchase the Dog Days 2015 calendar on Etsy. All the proceeds go back to the animals!

For now I’ll leave you with this outtake picture….I don’t know why I was making that face, but it makes me laugh!

squirrelsam

Till next time friends,

Chris

DIY // Marquee Sign with Christmas Lights

DSC_0139

I’m all about recycling holiday decorations and when we started taking down our Christmas lights, I had a little light bulb of an idea! These LED string lights were a perfect size for a mini marquee sign! So here are my steps in creating this easy DIY sign and it only took me about an hour to create!

DSC_0161

These LED string of lights were only $14.99 at Target!

DSC_0108

Talk about an affordable DIY… the only thing I spent money on was this cardboard “&” sign that was only $2.99 at your local craft store!

Cut out

First you need to cut out the top cover of the sign! I used an exacto knife to get really close to the edges.

paint

I painted the whole sign white to give it a clean look and to match my other house decor. I decided to go with Chalk paint because it dries fast with a matte finish and gives the cardboard a whole new (expensive-looking) makeover! I gave it two coats for a pure white look and waited 30 min between coats.

DSC_0118

I marked where I wanted to light bulbs to be placed. And since these aren’t bulbs you can unscrew you have to make sure the holes are big enough to push them through!

DSC_0133

My cuts were a little messy at first, but after some trial and error I found that cutting through the front side resulted in cleaner looking edges. Later on I used a drill and saw that the holes came out more precise with less cardboard residue. Both methods won’t be the prettiest, but it will do the trick! I suggest doing some practice rounds to see which method works best for you!

DSC_0160

Lastly, all I did was push each bulb through the holes I created and you’re done!

DSC_0151

DSC_0157

DSC_0145

DSC_0135

And that’s how you can recycle your Christmas lights for decor all year round!

Thanks for reading!

Chris

Be Merry

DSC_0659-2

Merry Christmas and Happy Holidays everyone!

Today is a day to be merry and enjoy the company of loved ones! I know I am definitely relaxing today, getting cozy with Sam, and watching all the Christmas movies I can squeeze in a day. Here is my Spotify playlist that I’ve been slowly building throughout the month of December. Warning: there are a lot of songs and IT WILL keep you in the Christmas mood all day long!

With love,

Christine & Kat

Tis the Season to Give

IMG_6510

I know this is pretty last minute, but I know there are some procrastinators out there just like me! So from one procrastinator to another, here is what I’ve stumbled upon on my quest for quirky gifts for my friends and family! Did I forget to mention that these gifts are all under $60! Gifting on a budget just became less stressful. You’re welcome!

Rootandrose-gifts

Voluspa Cut Glass Jar Candle // Framed Art Print // Donuts & Coffee Milk Chocolate Bar (more awesome flavors here) // 2015 Quotable Calendar // Gilded Portable Charger // Vans Slip-ons // Baggu Backpack //

 Happy Christmas shopping,

Christine

Back to Cool

Back to cool

I’m not in school anymore, but my favorite part of going to school was back-to-school shopping! Here are a few items I wish I thought of when I was still in school (all things I would still buy today).

1. Back Me Up // I know my iPhone dies really fast and when I was in class I would have killed for an external battery charger. Say goodbye to hunting down outlets!

2. Book Toter // Well how cute are Hershel Supply Co. backpacks? Even if you’re wearing sweats and your boyfriend’s tshirt, you will be chic toting around this backpack!

3. Well Rested // I believe the key to having a good school day is waking up on a good note. If this typography pillow case won’t set your day off right then I don’t know what else will…

4. French Case // Your cool new pens need a cool Parisian place to call home.

5. But First, Coffee // I don’t know about you, but I need coffee in order to stay awake during class. Am I an addict? Maybe…..but this gold tumbler definitely makes me want to drink more caffeine!

Home-spiration // Gallery Wall

Whenever I have a creative brain fart, I know I can always turn to my Pinterest. Currently, I am looking for decor for my two very white, blank walls and I always found that a gallery of frames was somewhat beautifully messy. Here are some pictures I found that sparks my interest, and I hope it inspires you!

Frame3

Classic black and white gallery with a pop of color for surprise and intrigue- A Beautiful Mess 

Frame2

This layout is just classy and not too sassy. Right up my alley!

Frame4

Well you know anything with gold is something I can’t say no to. I’m in love with how gold just instantly dresses up simple art and typography- Sequins & Stripes

Frame6

Here’s another option: wooden frames. Gives the space a more natural feel.

Frame1

Accessories are to outfits as what framed art is to a big wall-  Dwell

Every wall needs love! So show your walls some love, slap some frames on it….but of course, do it strategically. Also TGIF y’all!

DIY // Gold Patterned Coasters

Gold Coasters1

Hey Monday DIY // I was in need of coasters for my desk because of my excessive coffee drinking, so instead of searching for my ideal coasters…I just DIY-ed them. It’s pretty easy to do and here are the tools you’ll need:

  • Cork board (I got a four pack from Target)
  • Scissors
  • Pen
  • Masking tape
  • Circular item to trace (I used a Bath and Body Works large candle cap)
  • Spray paint

Gold Coasters3

5 Easy Steps:

  1. Trace circles on the cork board
  2. Cut them out
  3. Tape the pattern you want
  4. Spray away
  5. Wait an hour and it’s ready to use!

Gold Coasters2

Hope you have an awesome week! Don’t let Monday bring you down!

Summer Garland Feat. Sam

Summer Garland on Make A Gif

We are smack dab in the middle of summer and suffering in the Texas summer heat, so I thought it was fitting to make a garland that fits this season’s personality! Sun, pool, popsicles and of course…SAM! This garland is pretty easy, breezy to make with three easy steps: print, cut, and tape!

Garland5
And of course, Sam had to make her appearance.
Garland6
VOILA!
Garland7
I just decided to use thin twine for something simple… just to hang up for a small bbq-ing get together with fambam. I hope everyone has a fun and relaxing weekend! And I hope you enjoy these cute printouts by Kat! (Just click on the ones and view the full size)