wood projects

DIY // Spring Crate Decor

DSC_0158

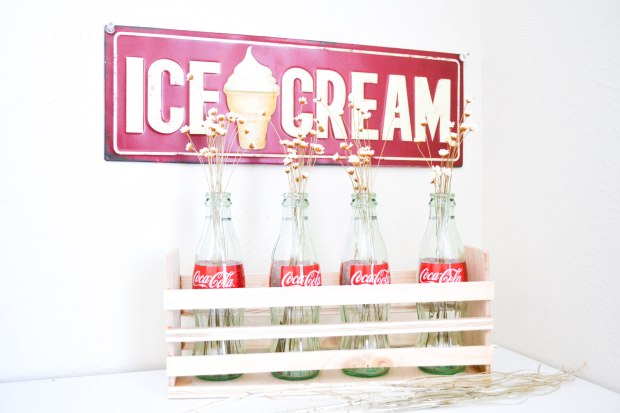
My favorite show as of last week has been Fixer Upper! If you’re ever looking for inspiration on home renovation or interior design, that show is the one to binge watch! So after feeling inspired, this is the result of what scraps of wood and leftover Coco Cola bottles looks like! No fancy tools allowed other than a hand saw to cut the wood into the right size and some heavy duty glue. And let’s jump right into it!

DSC_0008

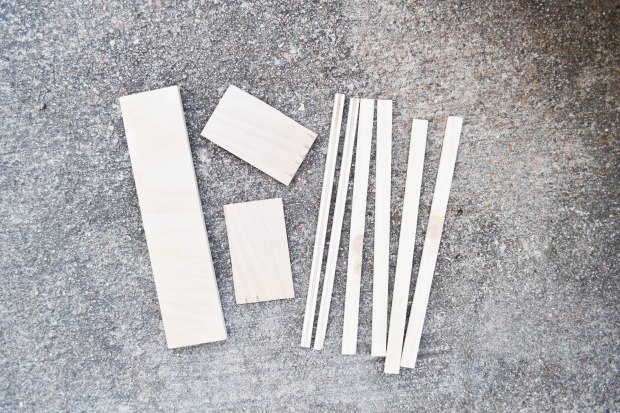
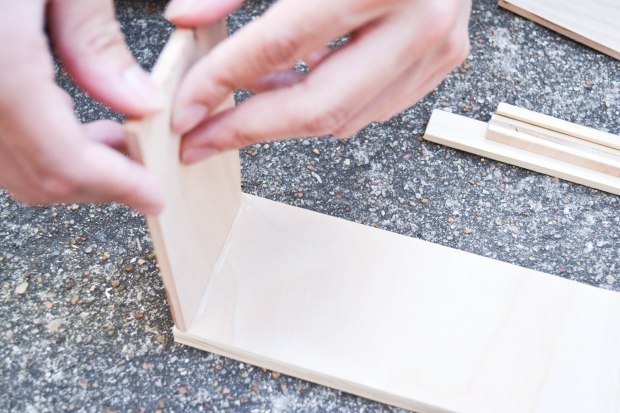
So with scraps that you can find, you will need to find a base board, 2 side boards and side planks! Get creative and measure out how long you want your crate to be!

My measurements:

  • 13 in x 3in. for the (1) base board
  • 13in x 1 in for (6) side boards
  • 5 in x 3 in for the (2) end boards

DSC_0010

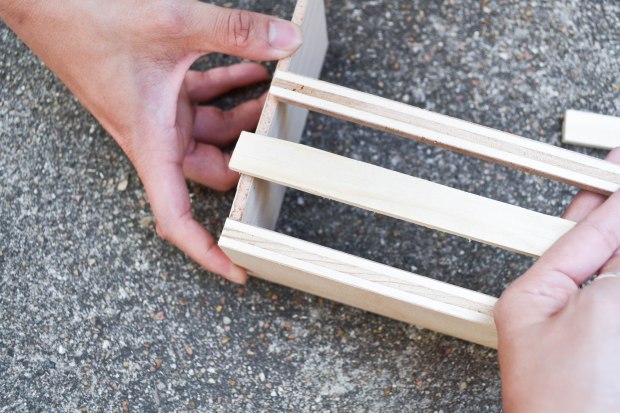
Before I glued and made this a permanent decision, I planned out the placement of the wood pieces.

DSC_0014

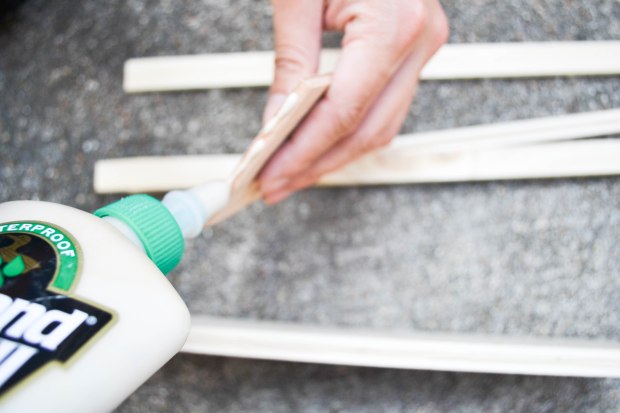
Next is the gluing and leave to dry for the appropriate amount of time unlike me…I had to reglue a couple times because I prematurely touched the pieces and knocked them over!

DSC_0019

DSC_0086

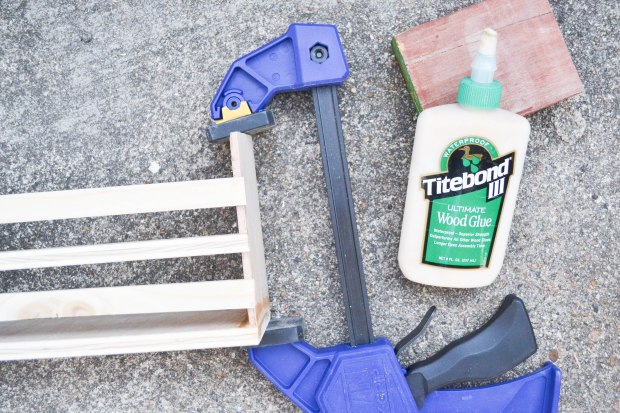
Because I was too impatient, I used a clamp to make sure my pieces were secure and not going to fall over when I got ahead of myself.
DSC_0097

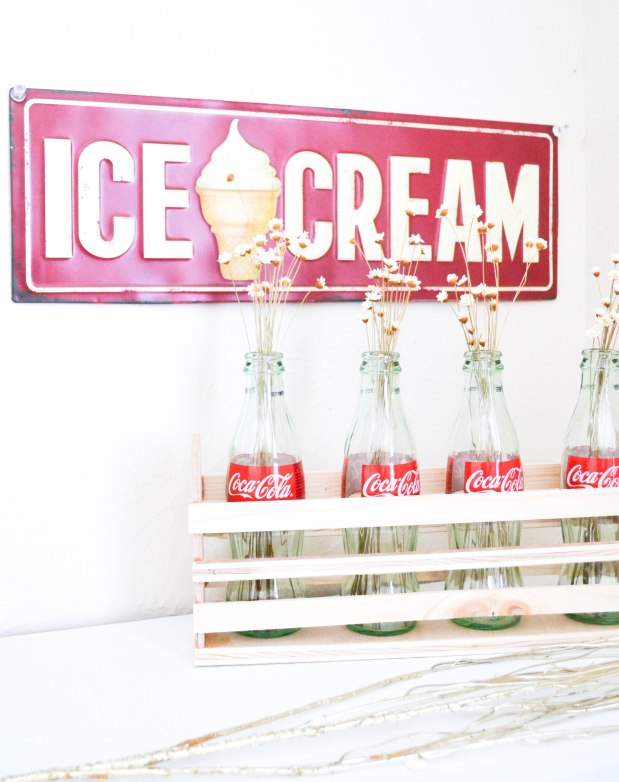
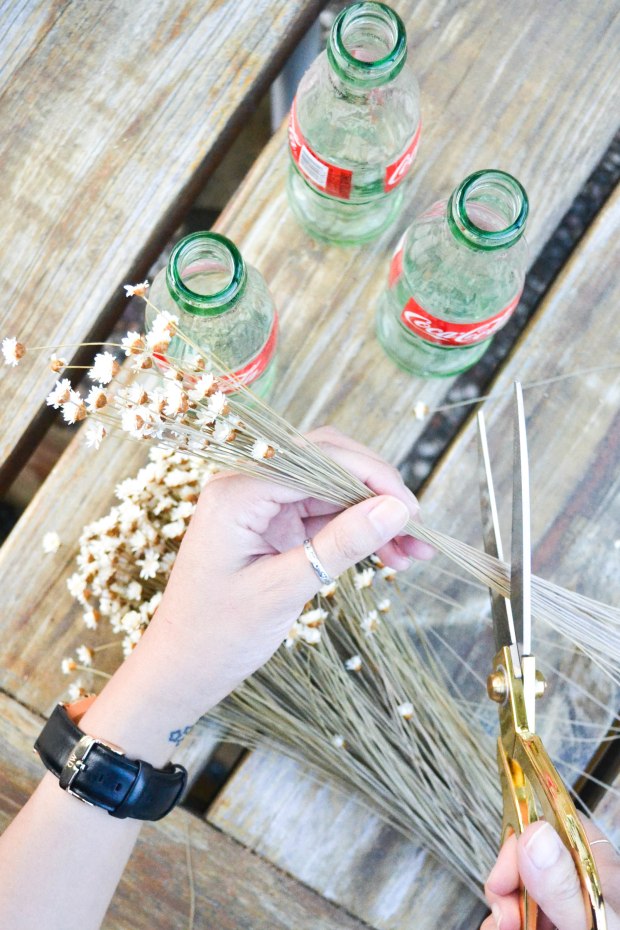
I took the bottles left over from our Super Bowl get together and turned them into cute vases! Took these fake flowers from my local craft store and you’re almost there!

U3s4ny on Make A Gif, Animated Gifs

Add bottles, add flowers and you’re done!

DSC_0157

Thanks for reading!

Chris
DIY // Ikea Inspired Drawers

DSC_0348

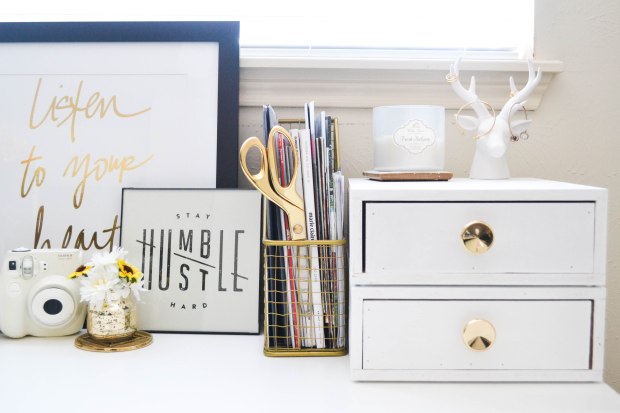
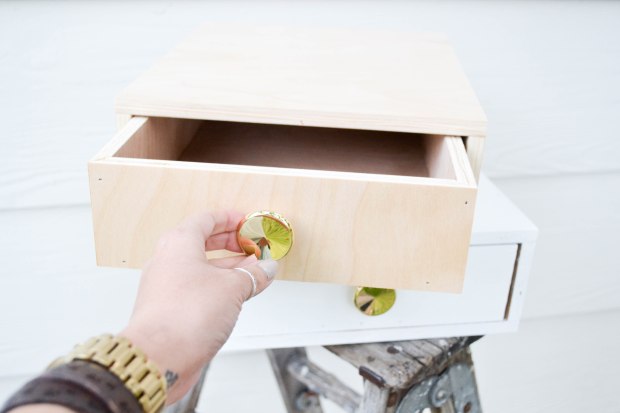
Every Ikea trip leaves me with awesome ideas for DIYs. I recently stopped by Ikea in hopes of finding a specific drawer design for my desk space. Unfortunately, I didn’t find drawers that fit my criteria and budget, but I did take away inspiration to implement into a DIY of my own. So after a trip to Lowes, and the help of my crafty dad, I came up with designs and measurements that were perfect for my desk space and not to mention affordable!

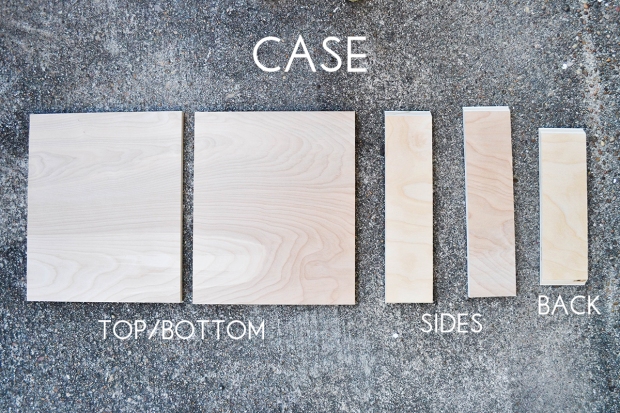
case2

Used .5inch plywood for the case:

Top & Bottom: 10 7/8″ x 13″ | Sides: 3 1/8 x 9 3/4 | Back: 3 1/8″ 10 7/8″

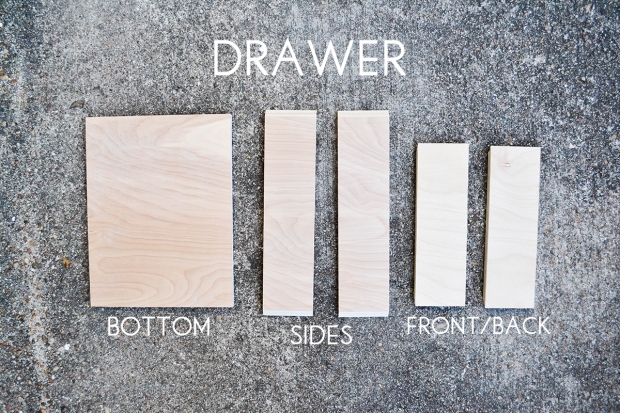
drawer2

Also used .5inch plywood for the drawer itself:

Bottom: 8 3/4″ x 11 1/2″ | Sides: 3″ x 12 1/2″ | Front & Back: 3″ x 9 3/4″

*Also if you don’t have tools to cut your own wood, Lowes has a service where you can tell them your measurements and they can cut the materials for you*

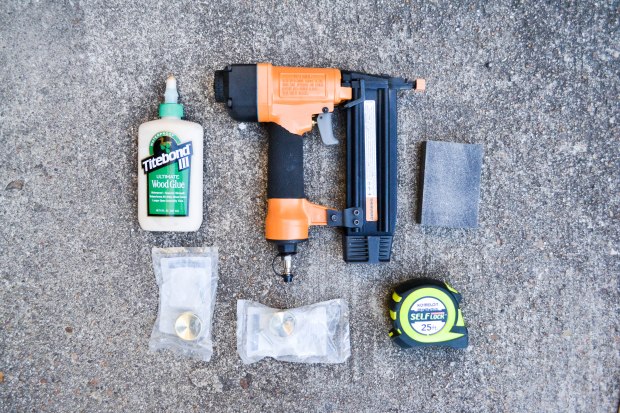
DSC_0230

Extra tools you’ll need to finish: Wood glue, nail gun w/1in. nails (optional for extra hold), sanding block, (2) drawer knobs, measuring tape.

UWJtky on Make A Gif, Animated GifsAssemble like a puzzle, apply glue where needed to connect each piece, and leave to dry for a couple of hours. I then painted my drawers to match my desk decor. This is the part to have fun, and be creative!

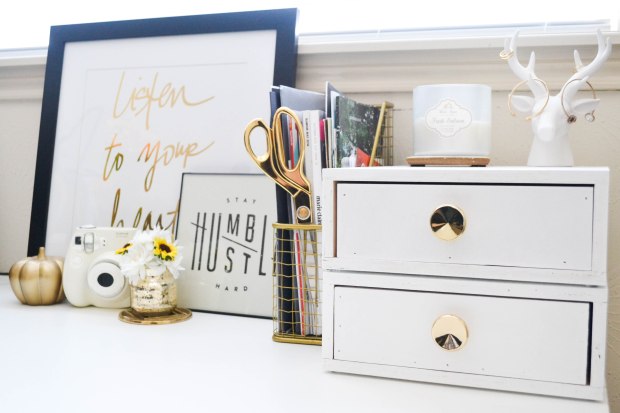
DSC_0282

And you’re done!

DSC_0354

What did I learned from this project?

1. Took a lot of trial and error!

2. Could’ve look into different types of wood

3. Use a matte paint next time

It was my first time creating a wooden DIY (and my measurements weren’t quite exact….), but I plan on getting better with more and more practice! So stick around and follow me along on my wood project journey!

Til next time,

Chris