DIY // Spring Crate Decor

DSC_0158

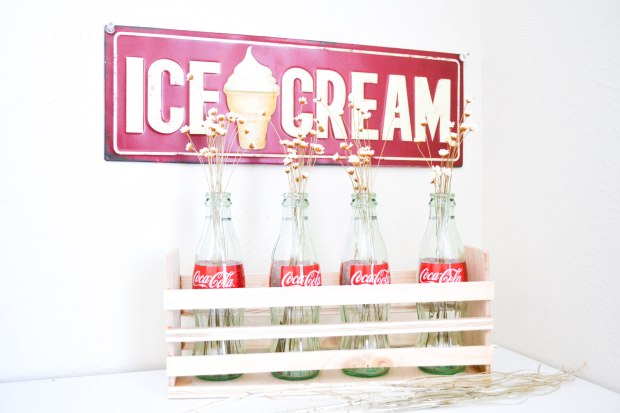
My favorite show as of last week has been Fixer Upper! If you’re ever looking for inspiration on home renovation or interior design, that show is the one to binge watch! So after feeling inspired, this is the result of what scraps of wood and leftover Coco Cola bottles looks like! No fancy tools allowed other than a hand saw to cut the wood into the right size and some heavy duty glue. And let’s jump right into it!

DSC_0008

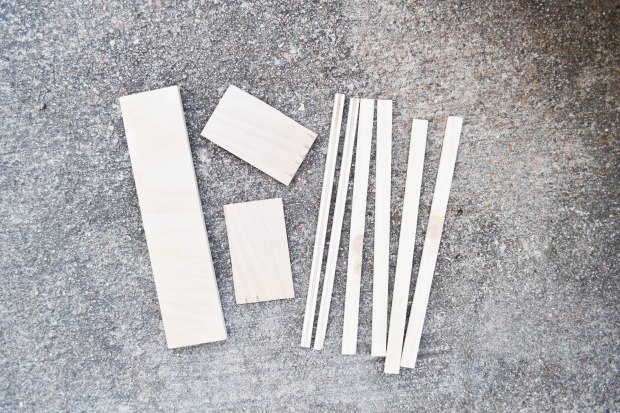
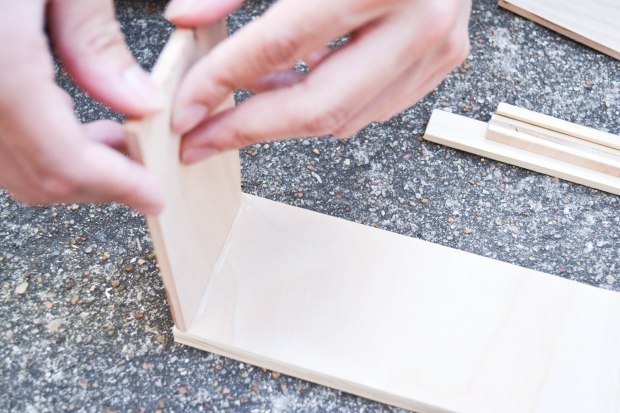
So with scraps that you can find, you will need to find a base board, 2 side boards and side planks! Get creative and measure out how long you want your crate to be!

My measurements:

  • 13 in x 3in. for the (1) base board
  • 13in x 1 in for (6) side boards
  • 5 in x 3 in for the (2) end boards

DSC_0010

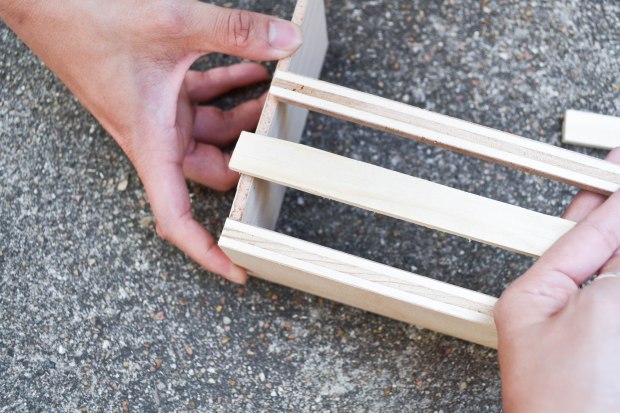
Before I glued and made this a permanent decision, I planned out the placement of the wood pieces.

DSC_0014

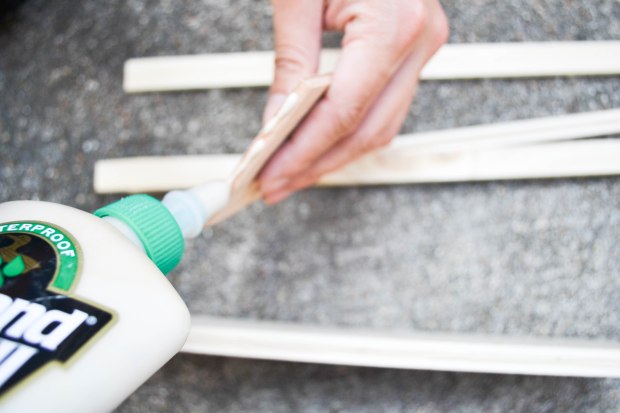
Next is the gluing and leave to dry for the appropriate amount of time unlike me…I had to reglue a couple times because I prematurely touched the pieces and knocked them over!

DSC_0019

DSC_0086

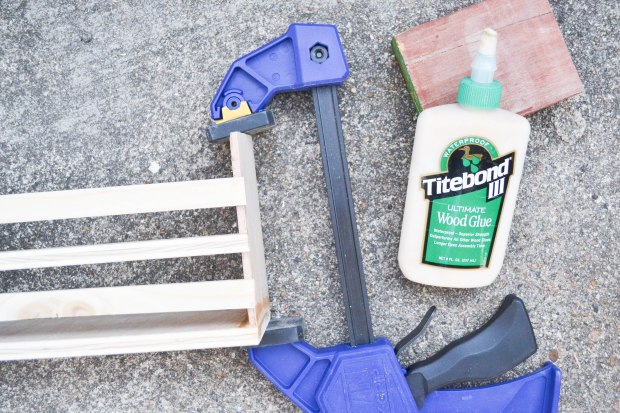
Because I was too impatient, I used a clamp to make sure my pieces were secure and not going to fall over when I got ahead of myself.
DSC_0097

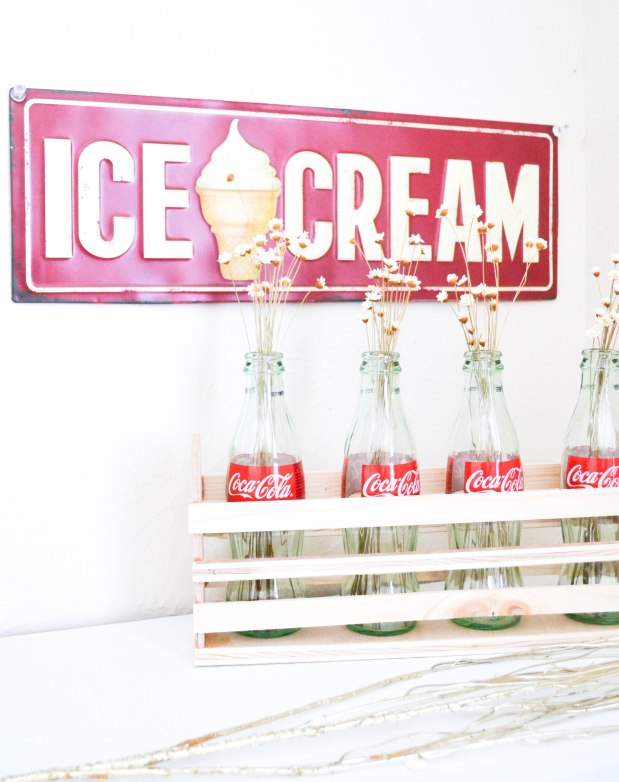
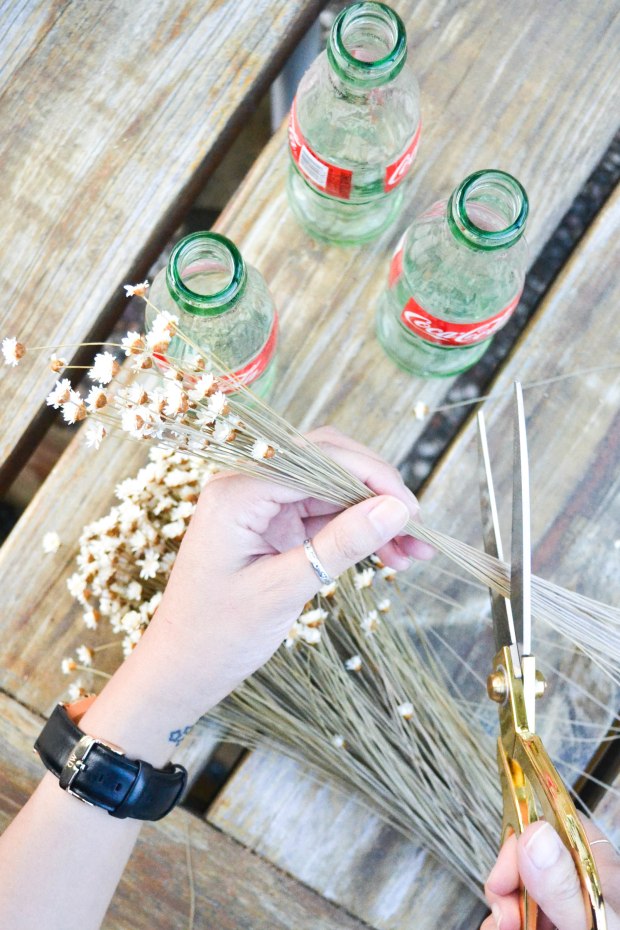
I took the bottles left over from our Super Bowl get together and turned them into cute vases! Took these fake flowers from my local craft store and you’re almost there!

U3s4ny on Make A Gif, Animated Gifs

Add bottles, add flowers and you’re done!

DSC_0157

Thanks for reading!

Chris

DIY // Ikea Inspired Drawers

DSC_0348

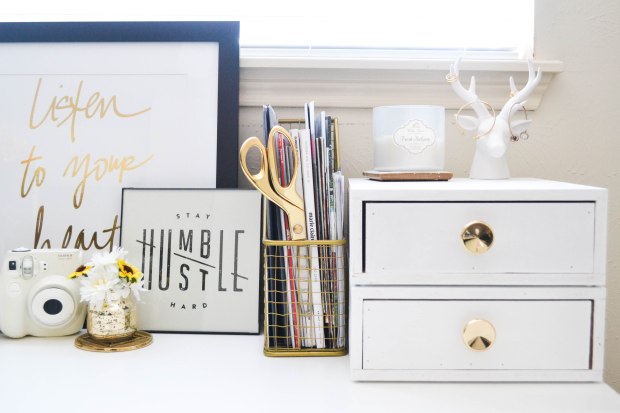
Every Ikea trip leaves me with awesome ideas for DIYs. I recently stopped by Ikea in hopes of finding a specific drawer design for my desk space. Unfortunately, I didn’t find drawers that fit my criteria and budget, but I did take away inspiration to implement into a DIY of my own. So after a trip to Lowes, and the help of my crafty dad, I came up with designs and measurements that were perfect for my desk space and not to mention affordable!

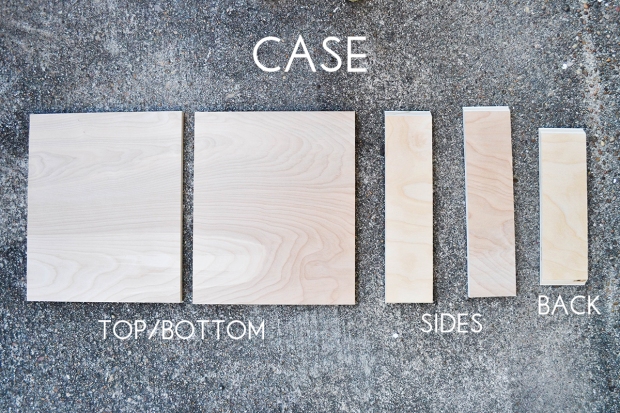
case2

Used .5inch plywood for the case:

Top & Bottom: 10 7/8″ x 13″ | Sides: 3 1/8 x 9 3/4 | Back: 3 1/8″ 10 7/8″

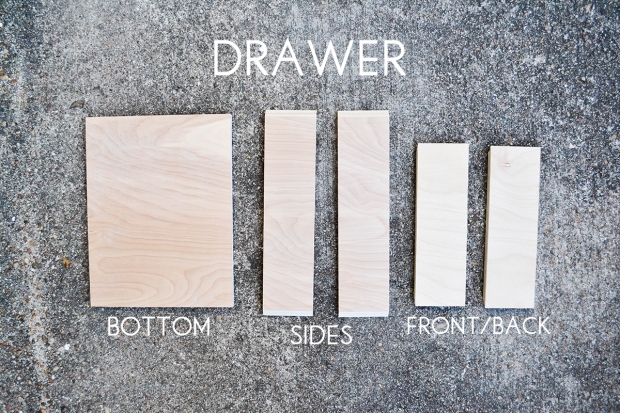
drawer2

Also used .5inch plywood for the drawer itself:

Bottom: 8 3/4″ x 11 1/2″ | Sides: 3″ x 12 1/2″ | Front & Back: 3″ x 9 3/4″

*Also if you don’t have tools to cut your own wood, Lowes has a service where you can tell them your measurements and they can cut the materials for you*

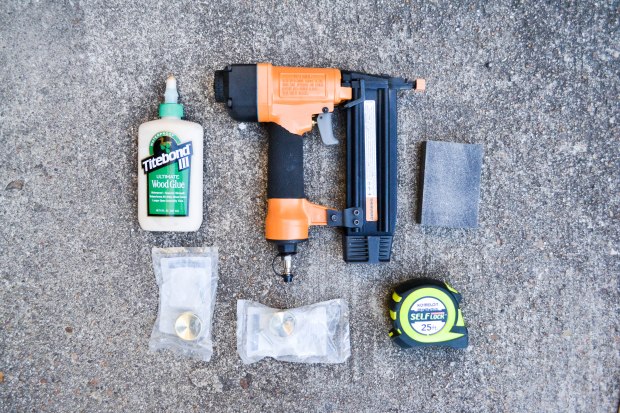
DSC_0230

Extra tools you’ll need to finish: Wood glue, nail gun w/1in. nails (optional for extra hold), sanding block, (2) drawer knobs, measuring tape.

UWJtky on Make A Gif, Animated GifsAssemble like a puzzle, apply glue where needed to connect each piece, and leave to dry for a couple of hours. I then painted my drawers to match my desk decor. This is the part to have fun, and be creative!

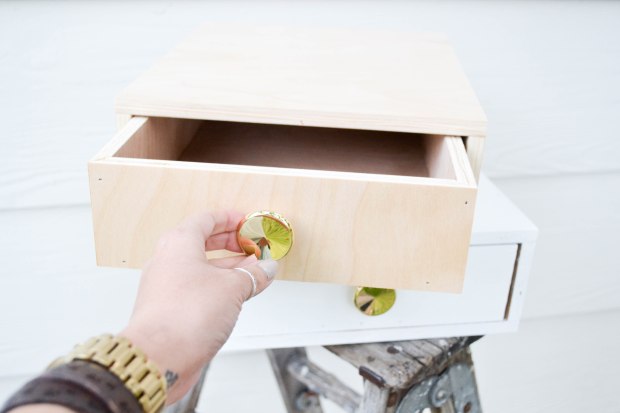
DSC_0282

And you’re done!

DSC_0354

What did I learned from this project?

1. Took a lot of trial and error!

2. Could’ve look into different types of wood

3. Use a matte paint next time

It was my first time creating a wooden DIY (and my measurements weren’t quite exact….), but I plan on getting better with more and more practice! So stick around and follow me along on my wood project journey!

Til next time,

Chris

Arm the Animals

DSC_0254

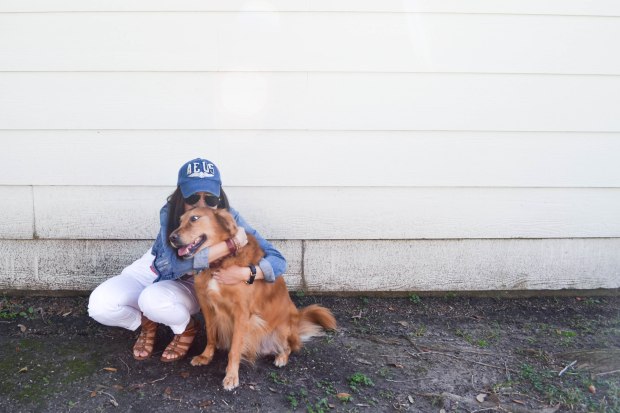
Nothing makes me happier than seeing people helping animals in need! Arm the Animals is doing just that. Their mission to help as many at risk animal as they can by creating dope t-shirts to raise awareness and to donate funds to struggling animal shelters. Check out their vast collection and help an animal today! Sam will give you a big slobbery kiss!

DSC_0183

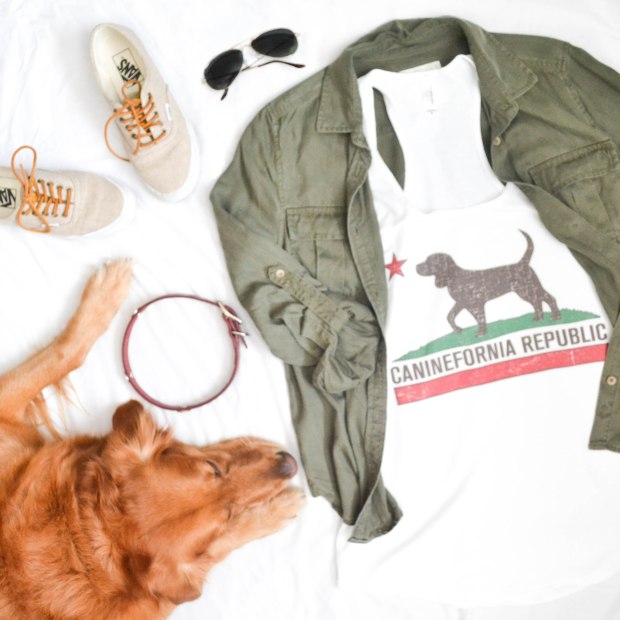
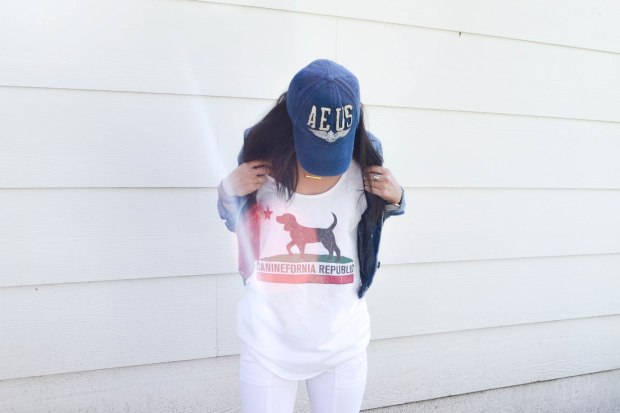
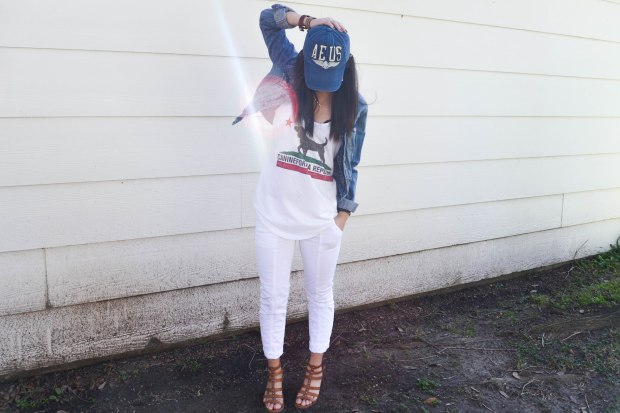
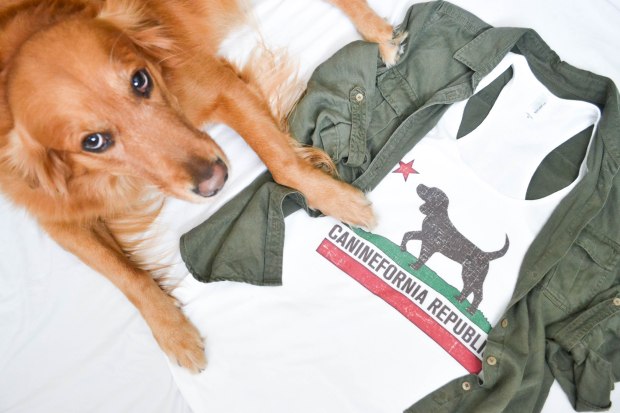
Caninefornia Republic tee here.

DSC_0181

DSC_0194

DSC_0235

Sam approved.

DSC_0240

Sam and I say thanks for reading! Get your own Arm the Animals tee here.

Chris

Dawg Friends & Stuff

DSC_0590

I like to take some time to give some love to all the ANIMAL INSTAGRAMS I’ve discovered over the past year! (pssttttt….Sam also has her own insta-g @theSamStory)

My second love to dogs are rabbits and @BunnyMama adopts the cutest buns and gives great tips on how to care for rabbits. You can’t help, but fall in love with those chubby cheeks!

I live vicariously through the traveling duo of @Andrewknapp and his doggie Momo.  He makes his followers really think when he plays #findmomo, and I do enjoy this lil hide-n-seek game because it always surprises me how well he hides Momo!

Sam is a golden retriever if you can’t tell, so it comes as no surprise why I immediately fell in love with @AllAboutBrady. She captures her dog so beautifully and every picture makes my heart melt!

And the last one for this round is @emwng and her two doggies! She’s the first doggy insta-g I fell in love with. If you’re looking for a pick-me-up, go and look through her pictures (*Warning* they will give you an extreme adorability high)

If you want to see more Insta-g dogs and donate to a good cause, you can purchase the Dog Days 2015 calendar on Etsy. All the proceeds go back to the animals!

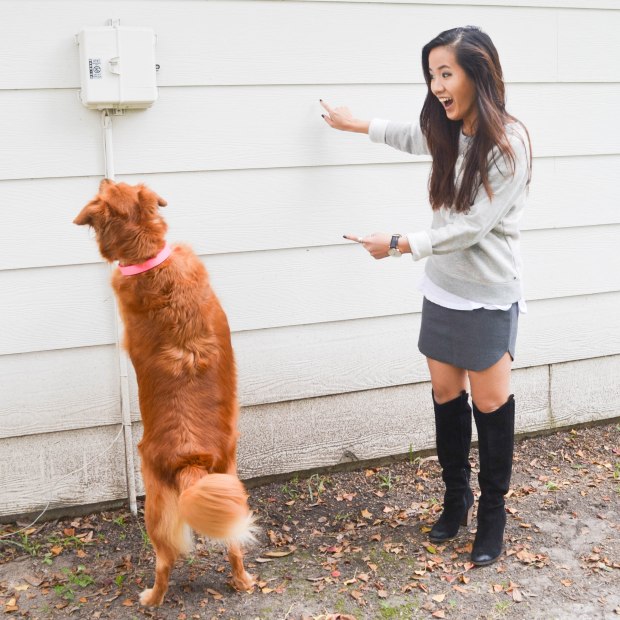
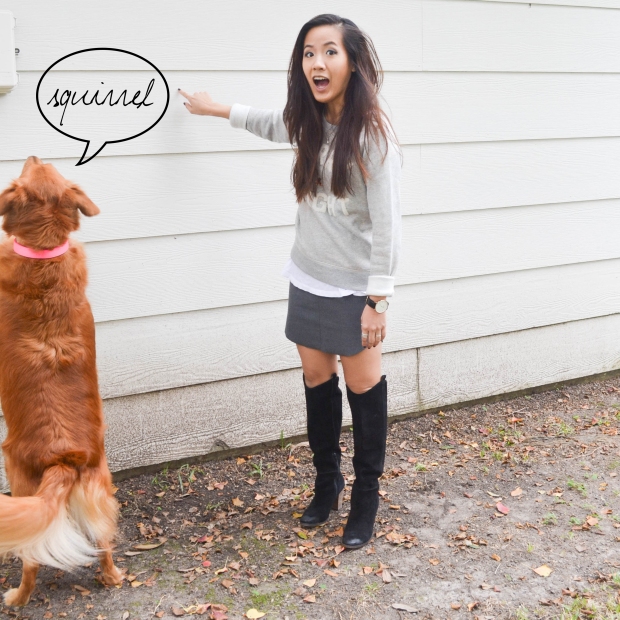
For now I’ll leave you with this outtake picture….I don’t know why I was making that face, but it makes me laugh!

squirrelsam

Till next time friends,

Chris

DIY // Marquee Sign with Christmas Lights

DSC_0139

I’m all about recycling holiday decorations and when we started taking down our Christmas lights, I had a little light bulb of an idea! These LED string lights were a perfect size for a mini marquee sign! So here are my steps in creating this easy DIY sign and it only took me about an hour to create!

DSC_0161

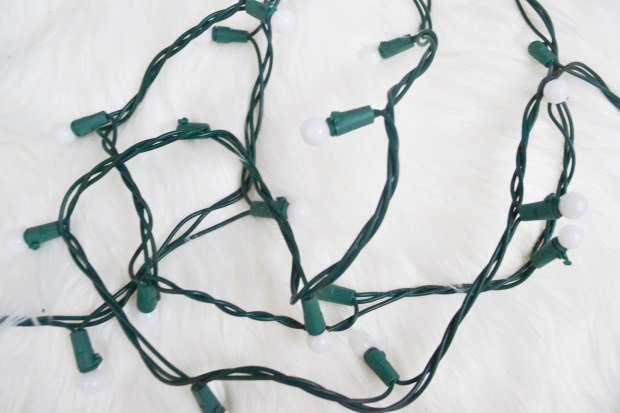
These LED string of lights were only $14.99 at Target!

DSC_0108

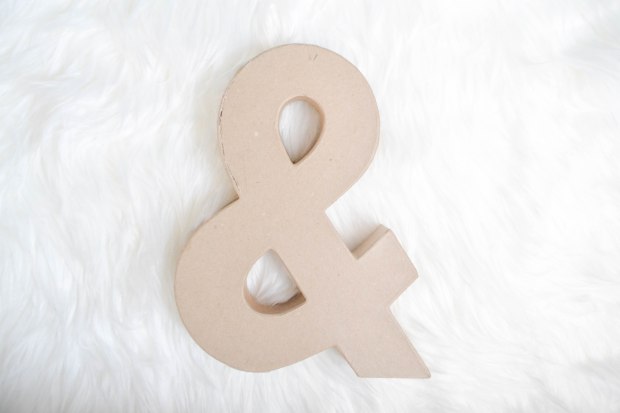
Talk about an affordable DIY… the only thing I spent money on was this cardboard “&” sign that was only $2.99 at your local craft store!

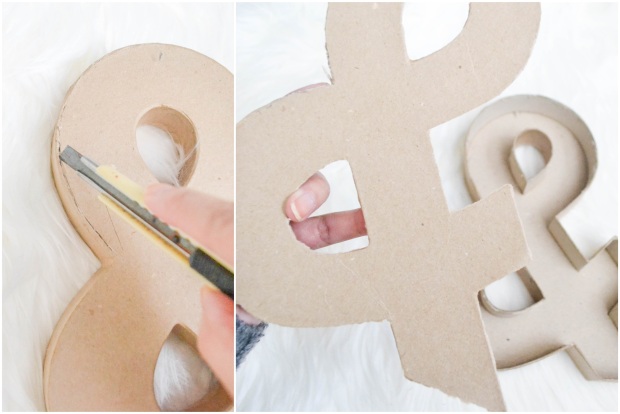
Cut out

First you need to cut out the top cover of the sign! I used an exacto knife to get really close to the edges.

paint

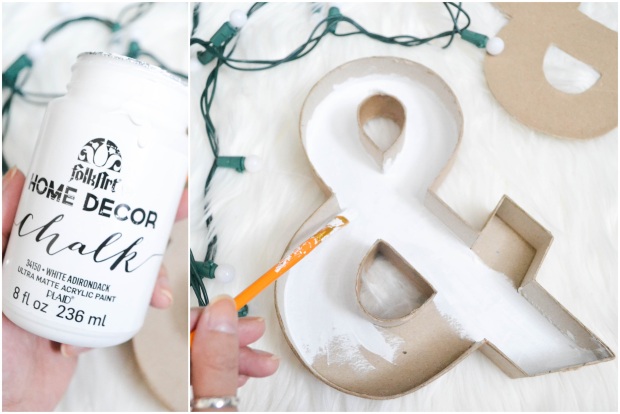
I painted the whole sign white to give it a clean look and to match my other house decor. I decided to go with Chalk paint because it dries fast with a matte finish and gives the cardboard a whole new (expensive-looking) makeover! I gave it two coats for a pure white look and waited 30 min between coats.

DSC_0118

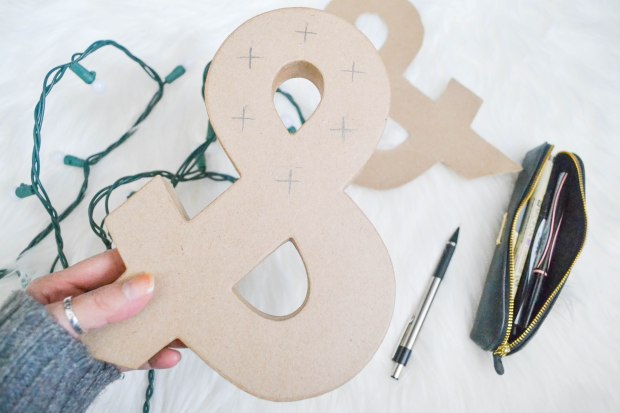
I marked where I wanted to light bulbs to be placed. And since these aren’t bulbs you can unscrew you have to make sure the holes are big enough to push them through!

DSC_0133

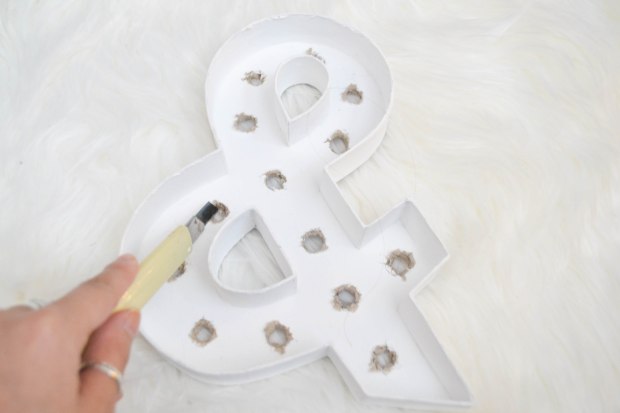
My cuts were a little messy at first, but after some trial and error I found that cutting through the front side resulted in cleaner looking edges. Later on I used a drill and saw that the holes came out more precise with less cardboard residue. Both methods won’t be the prettiest, but it will do the trick! I suggest doing some practice rounds to see which method works best for you!

DSC_0160

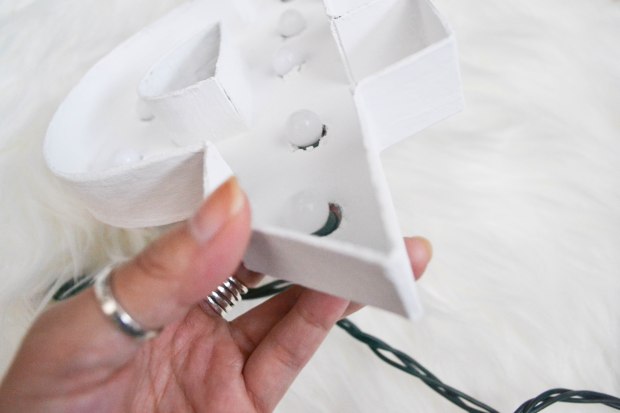
Lastly, all I did was push each bulb through the holes I created and you’re done!

DSC_0151

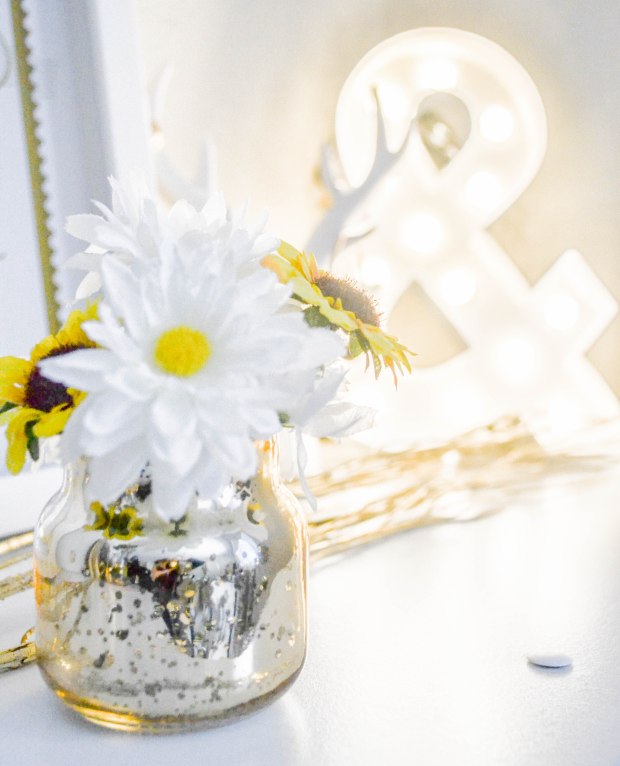
DSC_0157

DSC_0145

DSC_0135

And that’s how you can recycle your Christmas lights for decor all year round!

Thanks for reading!

Chris

Goals for 2015

character line4_1300

{Spring Fashion sketch} by Kat

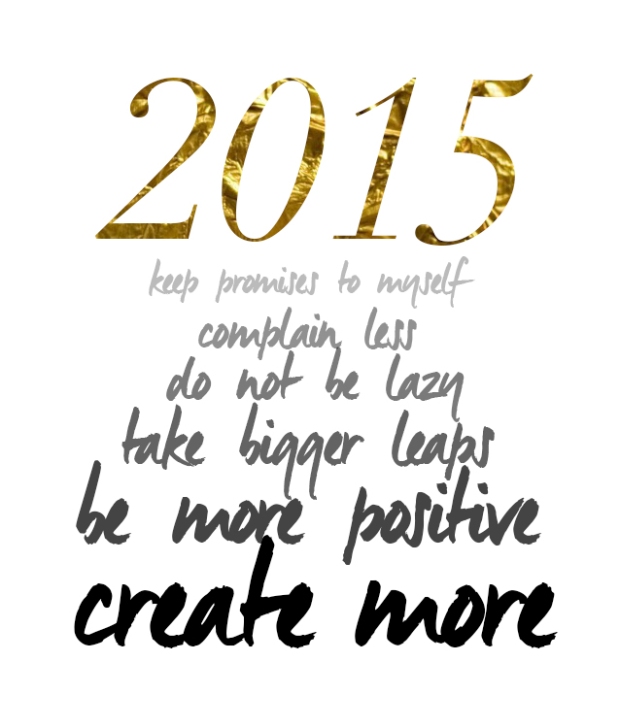
I have bigger and better things planned for 2015! (And my favorite number is 15, so I know this year is going to be a good one) I feel as though I’ve slacked in posting last year. I made mistakes, got discouraged, and gave up too quickly.  This year I’m starting out with a brand new attitude. I’ve learned from my past failures and I’m ready to keep on top of my projects. My sister and I will continue to have fun with the blog and we hope to take you guys along for the ride!

2015 goals V2

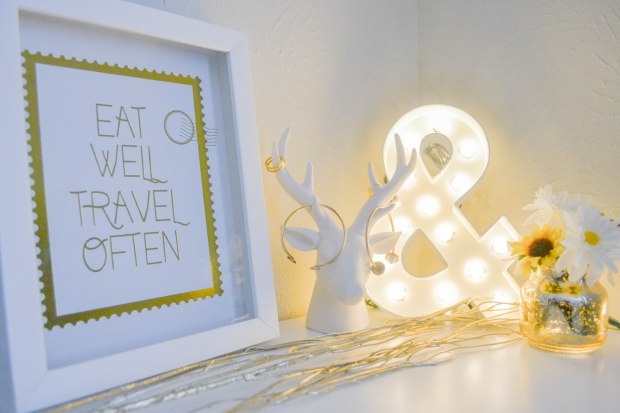
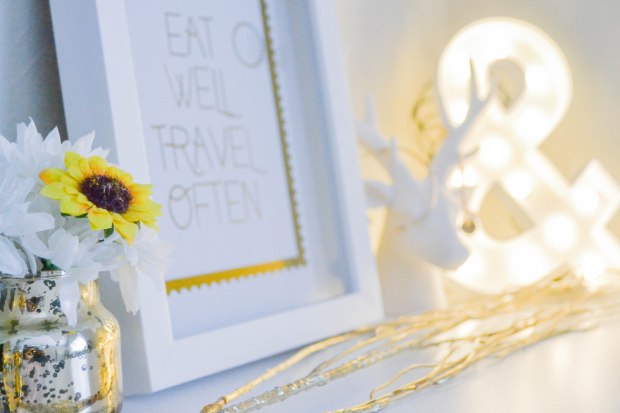
I didn’t get a chance to prepare a New Years DIY for the blog, but instead of leaving you empty handed here are a couple snapshots of DIYs I whipped up.

/home/wpcom/public_html/wp-content/blogs.dir/0d9/53284910/files/2015/01/img_7006.jpg

/home/wpcom/public_html/wp-content/blogs.dir/0d9/53284910/files/2015/01/img_6997.jpg

2015 Here we go…..

Stay awesome,

Chris & Kat
New Year, New Adventures

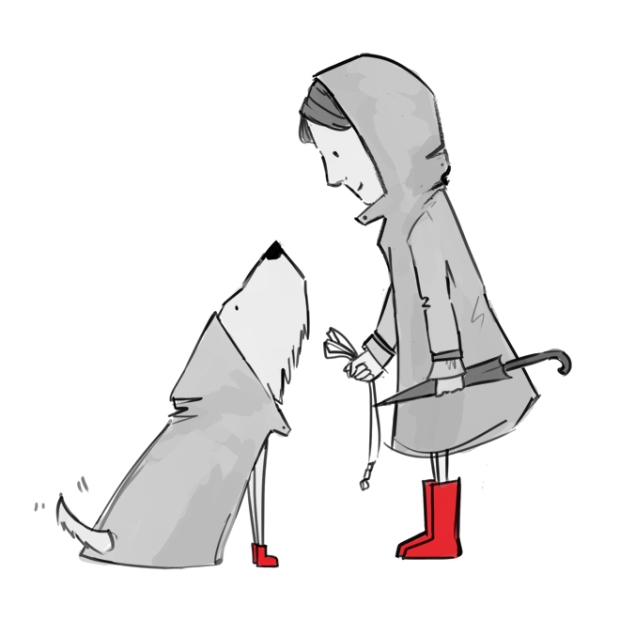
2014 is drawing to a close as new chapter begins! We wish everyone a Happy New Year! Venture out on more adventures in 2015, whether it’d be to a different country or discovering a new hobby! Me and Kat are ready to tackle more projects for R&R and we’re bringing Sam along! Thanks for sticking with us through 2014, let’s make 2015 a good one!dogwalking

{Dog Walkin’} by Kat

xx,

Chris & Kat
Be Merry

DSC_0659-2

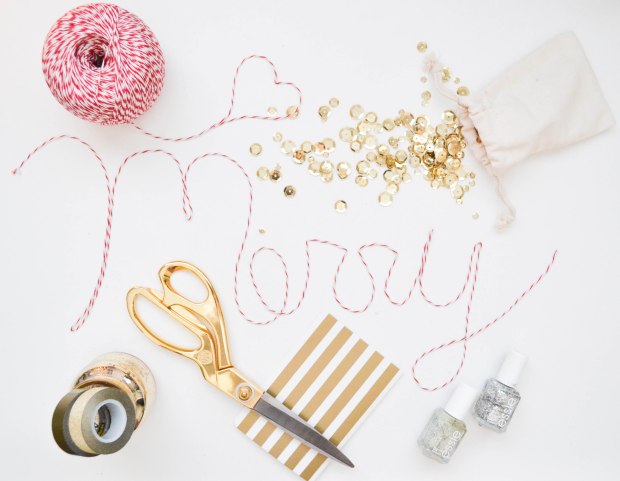
Merry Christmas and Happy Holidays everyone!

Today is a day to be merry and enjoy the company of loved ones! I know I am definitely relaxing today, getting cozy with Sam, and watching all the Christmas movies I can squeeze in a day. Here is my Spotify playlist that I’ve been slowly building throughout the month of December. Warning: there are a lot of songs and IT WILL keep you in the Christmas mood all day long!

With love,

Christine & Kat

Cozy Daze

Cozy Daze V2

With colder days ahead (because winter has not hit Houston yet), I am preparing for the hibernation. I’ve started stocking up on pajama pants, hot cocoa, a ton of holiday movies and some good books!

Processed with VSCOcam with s2 preset

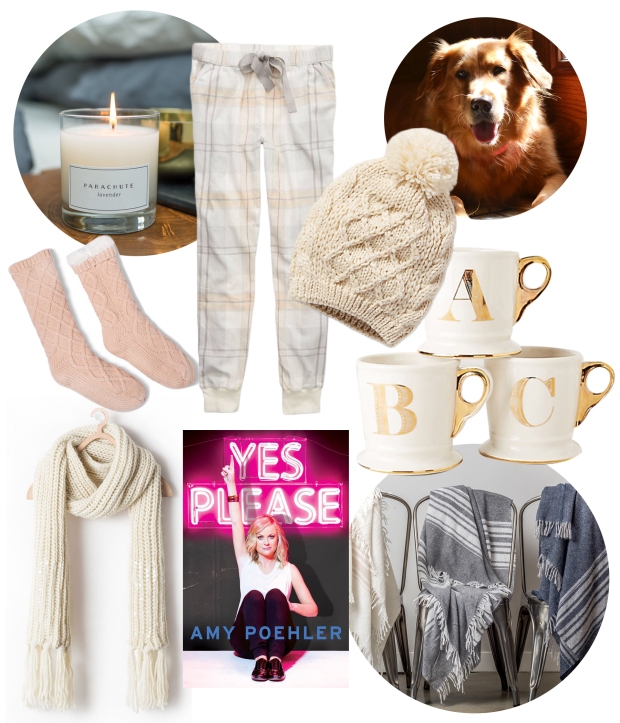
No one needs a tutorial on how to be cozy because that’s second nature to everyone. But what we do need help with sometimes is deciding on what tools we will need in order to achieve maximum coziness! So here are some of my cozy essentials for frigid winter days.

Cozy Daze

PARACHUTE candle // Aerie Pajama Pant // Anthropologie Beanie // Target Sweater Knit Slippers // Zara Scarf // Yes Please by Amy Poehler // PARACHUTE Cashmere Throw // Anthropologie Mugs

The most crucial part to my cozy day is having a fuzzy dog next to me while I relax (Sam also doubles as my foot warmer). If Sam refuses to let me warm my feet under her then I will most likely have warm lounging socks on because my extremities always freeze over first. If you find me sitting on the couch, you can bet I’m in my PJs like these ones from Aerie, bundled up with a soft throw. Depending on my mood you can find me enjoying Netflix or reading a feel good book. You can always bet I’ll have a cute mug filled with either coffee, tea or hot chocolate. When I wind down at night, I like to lay in my bed surrounded by a cloud of comforters (like the Parachute bedding) to keep me toasty while I catch up on my favorite Youtubers. And lastly, my cozy day is not complete without candles lit everywhere. Recently, I’ve been loving the scent of Christmas tree pine or a natural fireside scent. It makes the winter season come alive in my place!

Hope you’re having a happy festive holiday week so far!

Christine

Tis the Season to Give

IMG_6510

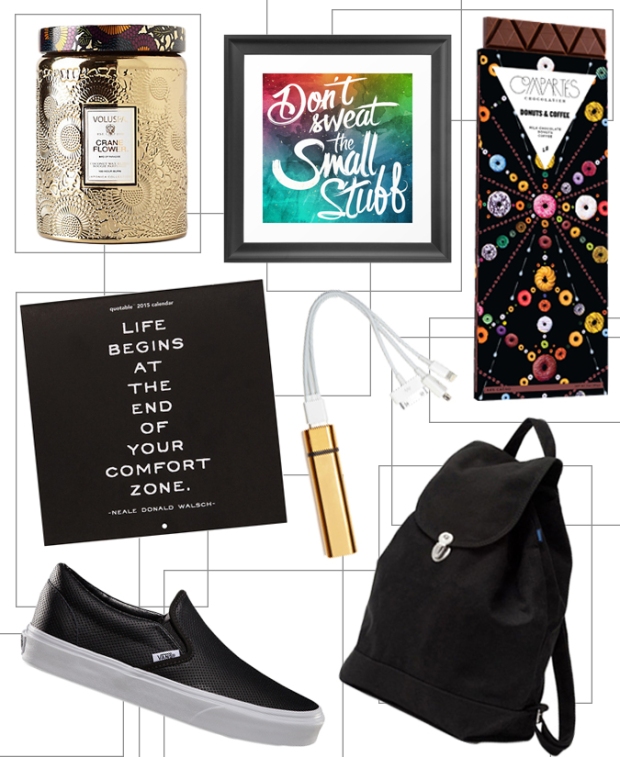
I know this is pretty last minute, but I know there are some procrastinators out there just like me! So from one procrastinator to another, here is what I’ve stumbled upon on my quest for quirky gifts for my friends and family! Did I forget to mention that these gifts are all under $60! Gifting on a budget just became less stressful. You’re welcome!

Rootandrose-gifts

Voluspa Cut Glass Jar Candle // Framed Art Print // Donuts & Coffee Milk Chocolate Bar (more awesome flavors here) // 2015 Quotable Calendar // Gilded Portable Charger // Vans Slip-ons // Baggu Backpack //

 Happy Christmas shopping,

Christine